
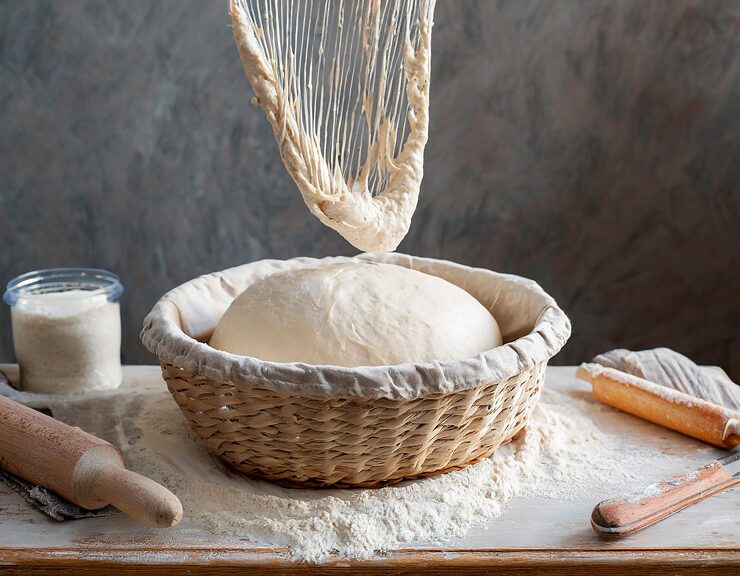
Alright, let's get into it. If you've ever watched a sourdough video and seen someone flip a shaggy dough ball out of a wicker-looking bowl and it just... holds its shape, that's a proofing basket doing its job. Some people call it a banneton, some call it a brotform, most of us just say bread basket for proofing because that's what it does — it holds your dough while it does its final rise before baking. I didn't own one for years. I used a regular mixing bowl lined with a towel and flour, and honestly it worked, sort of. But once I got a real basket the difference was obvious almost immediately. The dough held its shape better, the crust had that nice spiral pattern from the coils, and I stopped fighting with dough that spread out flat like a pancake on the counter. Not saying you need one to bake bread. You don't. But if you're serious about getting that bakery-style loaf at home, it helps more than people give it credit for.
The Actual Job A Proofing Basket Does
Here's the thing nobody explains well. Dough, especially high-hydration dough, is basically a wet, floppy blob until the gluten structure firms up. During the final proof (bakers call this "bulk" versus "final proof," don't worry about the jargon too much) the dough is fragile and if you just leave it sitting on a flat surface, gravity wins and it spreads out sideways instead of rising up. A basket gives the dough walls to lean against. It's structural support, basically a cast for your bread while the muscles — er, gluten — set. The ridged pattern on cane bannetons also wicks a bit of moisture from the dough's surface, which helps it release cleanly and gives you that classic ridged crust look when you flip it onto your baking stone or dutch oven. Small detail, but it matters more than you'd think for how the loaf looks once it's out of the oven.
Round Or Oval, Does It Matter
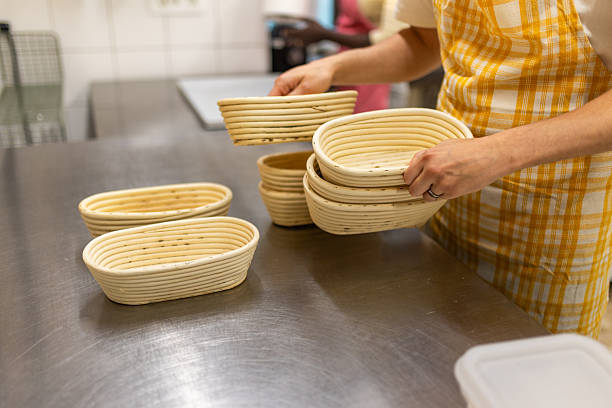
People ask this constantly. Round bannetons work for boules, basic round loaves, and honestly they're the more forgiving shape for beginners. Oval or oblong baskets are meant for batards, which is just a fancier word for a longer, torpedo-shaped loaf. If you're new to this whole proofing basket thing, start round. It's easier to shape dough into a round and it's easier to control. Once you get comfortable you can branch into oval baskets and start playing with different loaf shapes. I'd say don't buy five sizes right away like I did — waste of money, half of them sit in a drawer unused. Get one good 9 or 10 inch round basket first and go from there.
Material Choices: Rattan, Wood Pulp, Or Plastic
You'll mostly see three types out there. Rattan or cane baskets are the traditional pick, and they're the ones that give you that pretty spiral pattern. They need a bit of care though — you dust them with rice flour or a rice-flour-all-purpose blend before every use, or your dough sticks and you end up peeling half your loaf off the basket in frustration, which, trust me, is a bad morning. Wood pulp bannetons are a newer option, less traditional looking but way easier to clean, and some folks like them because they don't mold as easily if you live somewhere humid. Then there's plastic proofing baskets, usually just for people who don't care about the fancy pattern and want something dishwasher-safe. All three work fine. Pick based on how much maintenance you actually want to deal with, not just what looks nicest on Instagram.
Sizing It Right For Your Loaf
This trips people up more than it should. A basket that's too big and your dough spreads out and loses height. Too small and the dough overflows the rim during proofing, which is messy and honestly kind of stressful when you're watching the clock. As a rough guide, a 500g dough ball fits an 8-inch basket comfortably, 750g wants something closer to 9 or 10 inches, and if you're doing bigger boules in the 1kg-plus range you'll want a 10 to 11 inch basket minimum. These aren't exact science numbers, more like ballpark figures I've picked up from years of trial and error and burnt-out loaves that didn't rise right.
Caring For Your Basket So It Lasts
Don't wash a cane banneton with soap and water, that's basically the cardinal sin here. You'll trap moisture in the fibers and next thing you know there's mold growing in the ridges. Just tap out the excess flour after each use, let it air dry fully, and every so often give it a light brush with a dry pastry brush to knock loose bits out. If it does get a little dough stuck in it, scrape gently with a dry brush, never a wet cloth. Treat it right and a good cane basket will outlast several of your dutch ovens honestly.
When A Basket Comes Bundled With A Starter Kit
This is where it gets interesting for beginners. A lot of the best bread making kits on the market now include a proofing basket as part of the bundle, along with things like a bread lame for scoring, a dough scraper, maybe a linen proofing cloth. If you're just starting out, buying one of these kits can genuinely save you money compared to piecing everything together separately, and it takes the guesswork out of "what do I even need." I'd still recommend checking what basket size comes in the kit though, since a lot of them default to one size that might not match the loaf size you actually want to bake most often.
What To Look For In A Good Starter Kit
Not all kits are created equal, and some are honestly padding out the box with stuff you don't need. Look for kits that include a decent-sized banneton (9 inch minimum), a sharp lame or scoring blade, a bench scraper, and ideally some kind of liner or cloth. Bonus points if it comes with a simple recipe booklet, because starting from zero with sourdough or artisan bread can be intimidating and having a written starting point helps a lot. Skip kits that are mostly filler — extra bowls you already own, cheap plastic tools that bend on first use. Read a few reviews before buying, because photos on a product page always look better than what actually shows up at your door.
Common Mistakes People Make With Proofing Baskets
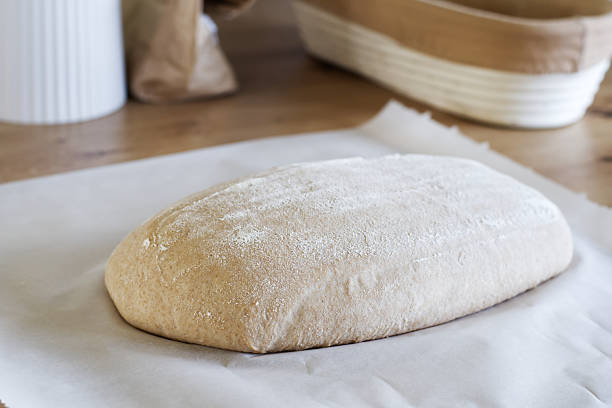
I've made most of these myself so I can speak from experience. Not flouring the basket enough before placing the dough, that's the big one, and it leads to dough sticking and tearing when you flip it out. Using too much water in your dough for a beginner skill level, which makes it harder to hold shape even with a good basket. Leaving dough to proof too long in the fridge overnight and forgetting about it, which over-proofs it and it goes flat and sad when it hits the oven. And using a basket that's genuinely the wrong size for your dough weight, which we already covered but bears repeating because it happens constantly.
Final Thoughts On Getting Your Proofing Setup Right
Look, you don't need to overthink this. A bread basket for proofing is a small investment that makes a real, visible difference in how your loaves turn out, especially if you're chasing that rustic bakery look with good structure and a nice crust pattern. Whether you buy one on its own or as part of one of the best bread making kits out there, just get something sized right for the loaves you actually bake, care for it properly, and give yourself a bit of grace while you learn the rhythm of it. Nobody's first loaf comes out perfect. Mine sure didn't. Keep at it and the proofing basket earns its keep pretty quick.
FAQs
What is a bread basket for proofing actually used for?
It supports dough during its final rise, keeping the shape tight instead of letting it spread flat, and it often leaves a decorative ridged pattern on the crust.
Do I need a proofing basket to bake bread at home?
No, you can use a bowl lined with a floured towel, but a proper basket gives better shape support and a nicer finished look, especially for sourdough.
What size proofing basket should a beginner buy?
A 9 to 10 inch round basket is the safest starting point for most home bakers and standard loaf sizes.
Are the best bread making kits worth buying for beginners?
Yes, generally. A good kit bundles the basket with tools like a scoring lame and bench scraper, which saves money and takes the guesswork out of getting started.
How do I clean a rattan or cane proofing basket?
Skip soap and water. Just tap out excess flour, air dry it completely, and brush out stuck bits with a dry brush now and then.